
How to build a DIY golf simulator
Building a golf simulator yourself means buying the launch monitor, the software and computer, the projector and the impact screen, and building the frame that holds the screen and the padding that catches shots that miss it. We read 20 DIY threads on r/Golfsimulator, with comments from 741 people, and this guide answers the questions builders ask most with what worked for the owners.
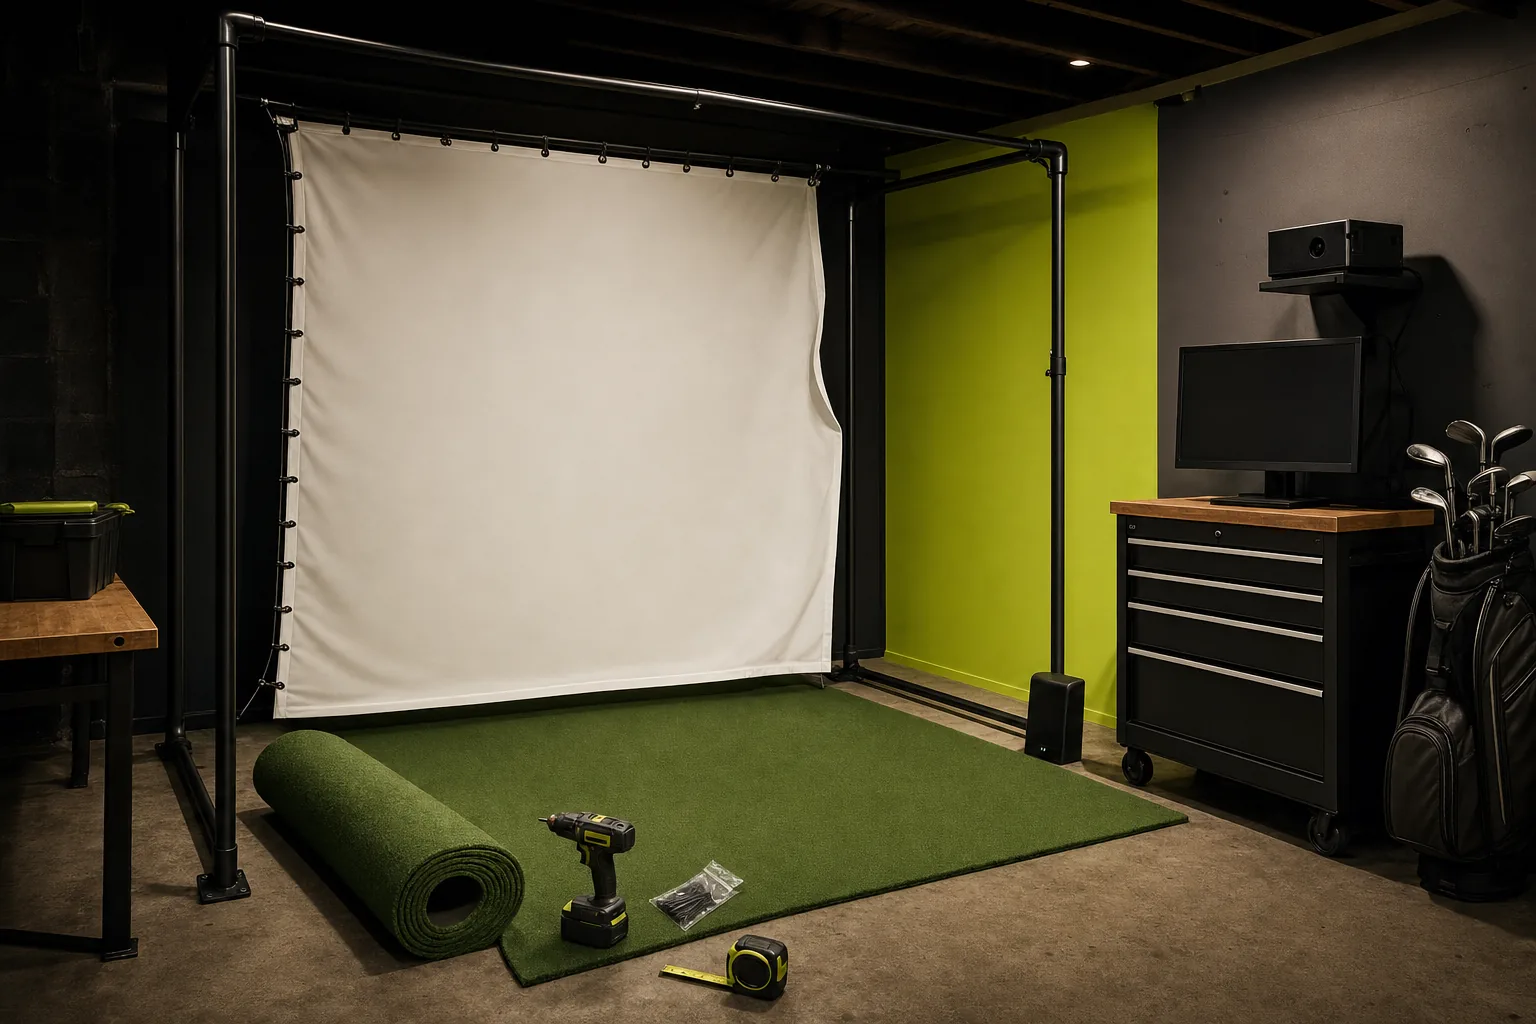
What you build and what you buy
A golf simulator has seven parts. Builders buy the first four and build or assemble the rest:
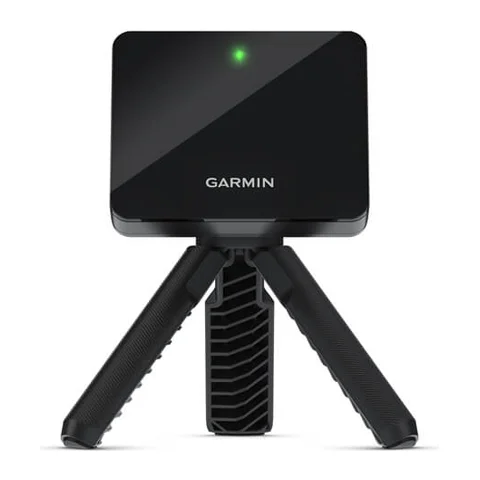
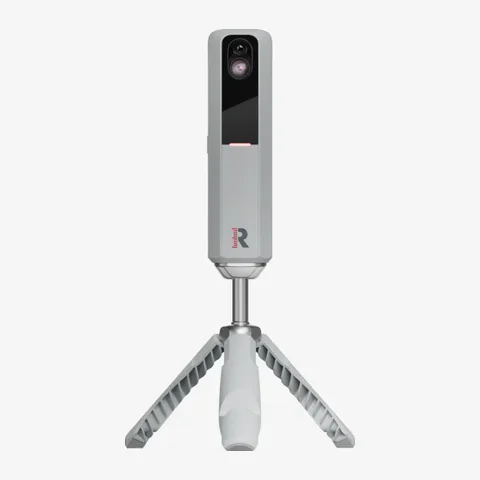
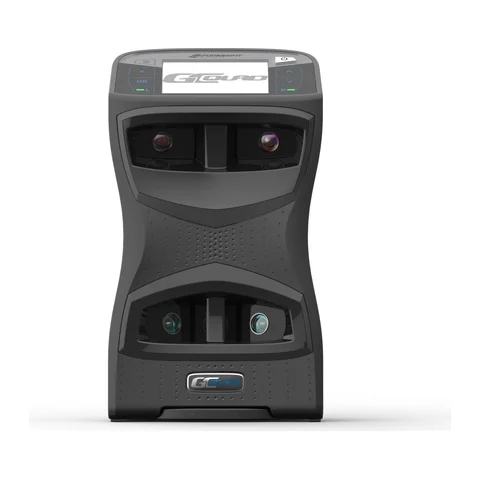
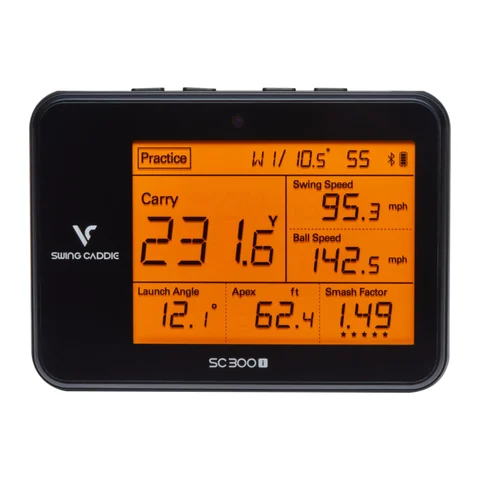
- Launch monitor: reads each shot. It measures or calculates the ball's speed, launch angle and spin, and on many units the club's speed and path. Our best golf launch monitors under $500 and best golf launch monitors under $1,000 pick launch monitors for a budget build.
- Simulator software and a computer: the program, such as GSPro, simulates each shot’s flight on a range or course, and runs on a Windows PC or, for some programs, an iPad. Our GSPro guide covers what GSPro costs and the PC it needs.
- Projector: hangs from the ceiling and shows the course on the screen. See the projectors that suit a simulator.
- Impact screen: the layered fabric screen you hit the ball into. Bought on its own, one starts at $180CA$339; see the impact screens.
- Frame or enclosure: holds the screen, with side panels or nets that catch shots that miss it.
- Padding: covers the frame, pipes, walls and ceiling near the screen so a ball that hits them drops instead of flying back.
- Hitting floor: a raised platform of gym mats, foam or plywood under turf, with a hitting mat or strip to hit from.
How much ceiling height and depth you need
Plan for at least 9 feet of ceiling over your swing, measured from the surface you stand on. Enclosure maker Carl's Place gives 8 to 9 feet as the minimum, where your height and swing decide which clubs you can hit, and recommends 10 feet or more.
Builders on r/Golfsimulator with 9 to 9.5 feet mostly swing a driver, many with a flatter swing; taller golfers hold back. One with 9 feet swings a driver at 5 feet 10 inches, while a 6 foot 3 inch friend stops at a 3-iron.
For depth, Carl's Place gives 15 feet from the screen wall to the back wall as a minimum: 10 feet from the screen to the ball, 4 feet behind the ball and 1 foot behind the screen. A radar launch monitor sits on the floor 4 to 12 feet behind the ball, so it needs more depth than a camera unit beside the ball; our radar vs camera launch monitors comparison explains the difference, and the best launch monitors for a room with limited depth picks units for a shallower room.
Our guide to golf simulator ceiling height and room size goes through each measurement, and the basement golf simulator guide covers building under beams and ducts.
How to build a golf simulator enclosure frame
Builders frame the screen in three ways:
- An enclosure kit with your own pipe: the kit ships the fittings, the impact screen and the side fabric, and you buy 1-inch EMT conduit, the steel tube electricians run wire through, and cut it to length. Shop Indoor Golf, which makes the SIGPRO kit, sends buyers to Lowe's or Home Depot for the conduit. The SIGPRO kit's frame joins the conduit with 2 L-shaped, 6 three-way and 3 straight connectors.
- A conduit frame from scratch: you buy the conduit and canopy fittings, the three-way and L-shaped connectors that join conduit at the corners, and hang a screen bought on its own. One builder paid $185US$185 (about CA$260) for conduit and $70US$70 (about CA$100) for fittings for a 10 by 9 foot enclosure, and another put the cost of cutting their own at about $150US$150 (about CA$210), against about $500US$500 (about CA$710) for a bought frame.
- A screen hung from the ceiling: the screen hangs from a roller or a bar fixed to the ceiling joists, with padded walls or nets at the sides. Garage builders use it so the screen rolls up out of the way.
Carl's Place and SIGPRO both sell a DIY kit that leaves out the conduit:
| Carl's Place DIY kit | SIGPRO DIY kit | |
|---|---|---|
| Price | $1,000CA$1,820 | $1,620CA$2,302 |
| Width by height | 100 by 100 in | 100 by 100 in |
| Depth | 59 in, 67 in with the rear fittings | 5 ft |
| Frame | Steel fittings; you add 1-inch EMT conduit | 11 connectors; you add 1-inch EMT conduit |
| Impact screen | Included, in four grades | Included (SIGPRO Premium) |
| Sides and top | Black fabric | Black vinyl, with side netting |
| Padding | Optional foam kit | Foam on all four sides of the screen |
The SIGPRO DIY kit costs $180CA$836 less than the SIGPRO SIG8, a complete enclosure of the same 8 foot 4 inch size that comes with its own poles. The DIY kit also includes side netting, an add-on for the SIG8, and the conduit comes from a hardware store on top of the kit's price.
Both kits are freestanding frames, so the room must fit the frame's outer size plus the gap behind it: Carl's Place asks for 12 inches between its frame and the wall, and at least 8.25 inches for the rear fittings. Our nets and enclosures page lists every enclosure we track, kits and complete ones, with prices, and our guide to choosing a golf simulator enclosure and impact screen covers screen size and fabric.
How to hang the impact screen
Builders on r/Golfsimulator do three things when they hang the screen:
- Leave a gap behind it: the screen bulges back when a ball hits it, so it hangs 8 to 12 inches in front of the wall. One builder at 8 inches had a fairway wood reach the workbench behind the screen.
- Hang it loosely, but keep it flat: a tight screen sends the ball back harder, so owners loosen or remove some of the bungee cords that hold it to the frame; one took out about 8. Loose is different from slack: five owners report screens sagging or wrinkling, and a roller bar 12 to 16 feet long droops in the middle. One fixed a sagging screen with eye hooks along the top edge in place of bungee cords.
- Fill the gap: owners hang moving blankets or a mattress topper between the screen and the wall to stop bounce-back and cut noise. One basement builder hangs moving blankets 1.5 and 2 inches behind the screen, then a net, then 4-inch foam, and calls the result very quiet.
To stop low shots going under the screen, seven owners let it rest a few inches onto the turf or lay a ramp, sandbags or a bag of towels at its foot; one with the screen on the turf had two balls get under it in about a year.
What to make golf simulator padding from
Ten owners on r/Golfsimulator made their own pads, most from a board, a layer of foam and a cover:
- Half-inch OSB board, a 3-inch mattress topper and faux leather, hung on clips.
- Quarter-inch plywood, 2-inch memory foam and batting under a loose duck cloth cover, which its builder says dampens direct hits.
- 4 mm marine plywood, 1-inch (25 mm) acoustic foam and marine vinyl, held up with Velcro.
Foam thickness decides what a pad stops: one builder found inexpensive thin acoustic foam on plywood too thin to stop a shank, while another's 3-inch memory foam in duck cloth stops a ball.
How the pads hang matters as much. Six owners report that spray glue, tape or glued Velcro let go in heat or humidity, and that glued panels tore drywall when they came off. What held: staples, screws through the panel into the joists, or Velcro sewn on rather than glued.
How to stop balls bouncing back at you
A ball that hits something hard near the screen comes back at the golfer. Eight owners describe balls bouncing off a hard or tight surface into people or property: one hit a friend in the eye and sent the friend to the emergency room, and another broke a TV. Besides hanging the screen loosely, their fixes:
- Cover every exposed pipe completely, with the foam fixed in place.
- Angle the pads about 45 degrees toward the screen, so a thin shot deflects into the screen. Seven owners angle foam along the screen's edges, some with gutter foam from a hardware store, the angled foam strip sold to keep leaves out of gutters, which one says costs about a quarter of an enclosure brand's foam.
- Lay a low ramp at the foot of the screen: one owner's 3-inch plywood ramp sends low shots up into the padded ceiling.
How to build the hitting floor
On r/Golfsimulator, 13 owners described their hitting floor. Most raised it on gym mats, foam or plywood and set a hitting strip, the dense turf insert you hit from, sold separately so it can be replaced when it wears, into a cheaper stance mat, the turf you stand on. Three of their floors, from the bottom up:
- Three-quarter-inch interlocking gym mats, then about half an inch of padding, then turf.
- Plywood, foam board, a second sheet of plywood, puzzle mats, then turf with a 1 by 3 foot cut-out for the hitting strip.
- A three-quarter-inch horse stall mat with putting turf glued on top and a cut-out for the strip.
The hitting surface is the part to buy well: seven owners report cheap hitting mats wearing through within weeks, and hard or budget mats causing elbow, finger or shoulder pain. Every inch of floor also comes off your ceiling height, so one basement builder kept to a 1-inch mat. Our hitting mats page lists the mats we track by price, with their thickness where the maker gives it.
How to make the screen roll up in a garage
On r/Golfsimulator, 13 owners who park in the garage made the screen roll up or fold away, and report about 2.5 to 5 minutes to set up and 30 seconds to 3 minutes to put away. Their builds:
- A hockey-net roller: a 10-foot SportScreen roller with a golf impact screen attached.
- A motorized roller: a roller screen with a motor, about $650US$650 (about CA$920), on 2 by 4s fixed to the ceiling joists.
- An RV awning: an old awning roller mounted upside down on the ceiling.
- A winched frame: a welded frame that hinges up to the ceiling on a winch.
- A fold-up platform: the hitting floor hinges up against the wall, 15 inches deep when closed, on an electric hoist.
Our garage golf simulator guide covers the rest of a garage build: the door and its opener, where the projector hangs, and heat for the winter.
Where the projector, light and computer go
Three more pieces go around the hitting area:
- Projector: on the ceiling. Its throw ratio, the distance from the screen divided by the picture's width, sets how far back it hangs, so check it against your room before you buy; our projectors page lists each one's throw ratio.
- Light: three owners hang a spotlight over the mat so they can see the ball while the room stays dark enough for the screen.
- Computer: four owners keep the PC in the house and stream the game to the garage, for example with the Moonlight streaming app on a Raspberry Pi, or extend Wi-Fi or Bluetooth to reach the launch monitor.
What a DIY golf simulator costs
On r/Golfsimulator, 11 builders gave a total. Those who built in a garage or basement they already had spent $1,296 to $10,000US$1,296 to US$10,000 (about CA$1,800 to CA$14,200), launch monitor included; those who also built a shed, barn or attic room spent $15,000 to $65,000US$15,000 to US$65,000 (about CA$21,300 to CA$92,200). Three builds at different budgets:
- $1,296US$1,296 (about CA$1,800): a used Garmin R10 with mostly budget online parts, with flooring and an iPad the builder already owned.
- Just under $3,000US$3,000 (about CA$4,300): a retractable garage build with a Square Golf launch monitor.
- About $5,000US$5,000 (about CA$7,100): a FlightScope Mevo Gen 2 with a used laptop and an open-box projector.
Seven owners cut costs with used, refurbished or clearance parts: a clearance enclosure, a used gaming laptop, a used driving-range mat. On the launch monitor, seven owners report mixed indoor results from the Garmin R10, the unit in the cheapest build: irons read well, and driver readings came out low or missed for some.
What each part costs new, and three complete setups, are in our golf simulator cost guide; what owners spent on the building itself, and the size, permit and heat it needs, are in our golf simulator shed guide.